Monday, July 22, 2013

Color coding stickers DIY

I have been relatively busy with our bathroom remodel and I'm sorry that I haven't been posting more.

But I do have an very easy DIY for you today!

I am in love with these color coded stickers

The only problem is, do they HAVE to be neon colored?
I'm also more than halfway through a planner and it's hard to switch colors now.

What ever shall I do?

I grabbed these guys I had hanging around my craft room,

Sadly they are write only so I can't really stick them through my printer.
(they un-peel and stick to the inside, so when it says "write only" they aren't joking)
so next choice...

MARKERS!
I used the colors I'm using for color coding right now so that they would match!


The next thing I did was added some simple stampings to them!

how super cute are these guys?!?!

Simple yet effective!

Thanks for stopping by!

W


Sunday, July 21, 2013

Color coding tabs with paint chips!

I know I'm not the only one who returns home from the hardware store
with a huge pile of these guys:


I usually use my typewriter to put quotes on them.

but I was thinking of doing something else,

I needed some tabs for a planner I wanted to make.

All I needed was a tab making punch, which I had in my craft room!


I didn't quite think this through so what I did was I punched the paint chip and then 
tried to put it through my type writer.

My lack of planning was great on this day!

It ended up looking something like this:
 Bahahahahahhaha, 
yeeeeaaah.

So take two,
I traced the outline on the paint chip.

And then ran it through the typewriter!


Much better!
All I need now is a new ribbon for the dang typewriter and I'll be set!


Now I just need to make 11 more!

color coding made easy and cheaply!

Fold and glue and I will be done!


Thanks for stopping by!
W


Sunday, July 14, 2013

Soda Can Diy

I drink way too much soda.
Seriously.

Because my hubby and I drink so much soda we have a surplus of aluminum cans.
We do recycle them, but when I was playing around with paint swatches and paper punches I had a great idea, "what if you can punch a soda can?"
well, of course you can.
ha ha can...


Sorry for the pun.

There are a few tutorials on how to punch and use soda cans in crafting.

The first thing I tried was a flower!

let me show you what I made!

look how awesome this is!
Pretty good for a first try!

To get started here is what I used:
5 dr. pepper cans (my drug of choice)
a flower petal punch by fiskars, it has two sizes
e6000 glue

I cut up 5 soda cans, I punched petals from all of them and saved the bottom from one,
For the base I used the bottom of the can and folded down the sharp edges.


I then folded, bent and glued the larger petals to the base.
I went around a few times and came up with this,
This would have made a cute flower the way it was, so you could stop here.

That's not how I roll,

so then I added the smaller petals. working around and around again.


Folding and bending before glueing them was way easier then trying to bend them afterwords FYI.

I kept going until I was out of room!

And TADA!

my finished flower!
I'm going to play around with different curling and petal placement.

I can't wait to find some magnets to put on the back so I can put it on the fridge!

Thanks for stopping by!

W


Saturday, July 13, 2013

DIY paint swatch quotes.

It's no secret that I am IN LOVE with my type writers.

The one in this picture is my only functional one,
 we found it down in Carson City, Nevada at the good will.

They had it marked at $30, which was fine, I would have bought it anyway but the very nice worker told me she would lower it to $23! YES! of course I had to have it.
My husband could have cared less.
He was under the assumption I wanted it for decorating purposes only, much like my Underwood
Typewriter my sister gave me.

But NO!
I wanted to use it.
Mostly for sticky notes and scrap booking!

But I had this idea of typing out quotes on paint swatches!
The squares went through the machine very easily,
Besides the typos and misspellings I had quite a few when I finished.
(if you need practice spelling with out auto correct I suggest using a type writer)


This is the small stack I had,
I was able to fit quite a few quotes on each.

After I had them all typed up, cutting was up next!


I used my paper slicer to make it easier.


being on the last one, it was hard to cut because it was too thin, 
EUREKA:
Simply attach a post it to hold your thin strip!
I used a graphed one so I could line it up perfectly.
Just kidding, it was the only ones near me!


When they are all cut they look like this!
I love being able to hack off the mistakes.

But now they are perfect for all your quote needed purposes.

I plan on leaving some inspiring quotes in the gym lockers, the rest
I'm sure I'll just use in a planner or smash book.

Thanks for stopping by!

W


Friday, July 12, 2013

Double Sided Table runner

I've been sewing with my mother a lot in the last month and I wanted to show off what we made!
(okay, so I made one, my mother is still working on hers. 
The only down side to having EVERYTHING perfect.)
I'm more of a wing it and go for it person, mine is far from perfect, nothing is spaced correctly and the stars are off. oh well....

But we made a double sided runner!

The first is an Americana theme, we used our adorable ideas ultimate designs to embroider it.


my husband helped me do the math to make the border!
so technically he did help.

I'll show you the rest in picture form.


The machine ended up nesting under the f so I did end up with a double line. what eves
Also the writing on either side is un even. again, what eves.

The other side is just a simple all occasion runner, with our last name on it!

It was kind of hard deciding what to put on this so I just went simple.


Easy peasy. 


Because I have my homemade table, I needed something to cover the glass crack in the center.
Having a whole sheet would be too spendy.
but my table is 70" long and I really don't need it to over hang since it is right up against the wall.
I also made it wide enough to cover the top of my catch all if needed I can switch it over there.

My mother made hers the same length and width because she likes it to over hang on each side.
and really we had the math all done.

Thanks for stopping by!

W


Thursday, July 11, 2013

Walk in closet reveal!

After being in our house for over a year, I finally have my walk in closet finished.

Just to refresh your memory, our house was built in the 50s and closets were not a priority.
So in order to have room for my stuff I took over the second bedroom on the main floor!

Here is the vanity view!


I had to move the coffee table in here because of the new living room arrangement, so it became an awesome bench. A few pillows later and it turned out to be very functional!

The cats also now hang out here in the morning while the sun hits it.


This is standing right by the vanity!

Look at all my storage!
The desk to the far right is where my sewing machine usually goes, but I have been sewing so much with my mother that I just leave it at her house.


And here is the final view of the room!
This is from the door way!

There is a closet in my closet (closet inception.)
It is where I cram everything I don't want anyone to see.
This includes my purse collection and a huge stack of shoes. 
once I organize it I will be able to show it off!

Thanks for stopping by!

W


Friday, July 5, 2013

Planner progression.

I have a planner obsession.

I love making them, writing in them, decorating them, of course making lists and planning.

Over the years I've had quite a few, both store bought and hand made.


These are the starter planners I had,

The binder was super simple, some store bought pages, that I rarely used:
aka, NEVER used.

I switched to daily pages in my Franklin covey Binder, but it was HUGE.
It didn't even fit into my purse.

The book was a combination of all the daily pages from the Franklin and
all of my lists.


It was mediocre, it was the first planner I'd in quite a while.
so it was small but bulky, it also fell apart after regular usage.

sad.

So after that failure I felt the need to make a planner with a binding system.
So I tried the book method again but with a three ring binder.
This was my favorite lay out as well as my favorite binder.
once I ran ou of pages I wanted to make a spiral bound planner.

I made my own pages and covers for this guy
sadly the date year was wrong, I made it in 2012, not 2013.

I used the free digital scrapbook elements and papers to make this.

The other downfall was that it was daily pages. 

And it only went to December 2012.

but the cover was awesome.


I also have a surplus of pages


But sadly they are all daily pages.
I'm not busy enough to actually have a whole page per day.

I really enjoy the planner I have now but I really want to get a very small 
filofax or something petite I can fit in my purse.

That or simply use my phone with a paper planner so I don't have to lug it around.

I really hope I'm not the only one with a planner obsession!

Thanks for stopping by!

W

Wednesday, July 3, 2013

How to organize your nail supplies like a pro!

I love doing nails, it's really my passion.
that being said I am very particular about the way I organize things.

I also travel around and do nails for my mom and sister so I have to be mobile.

I still don't have it all figured out quite yet but this is where I started:


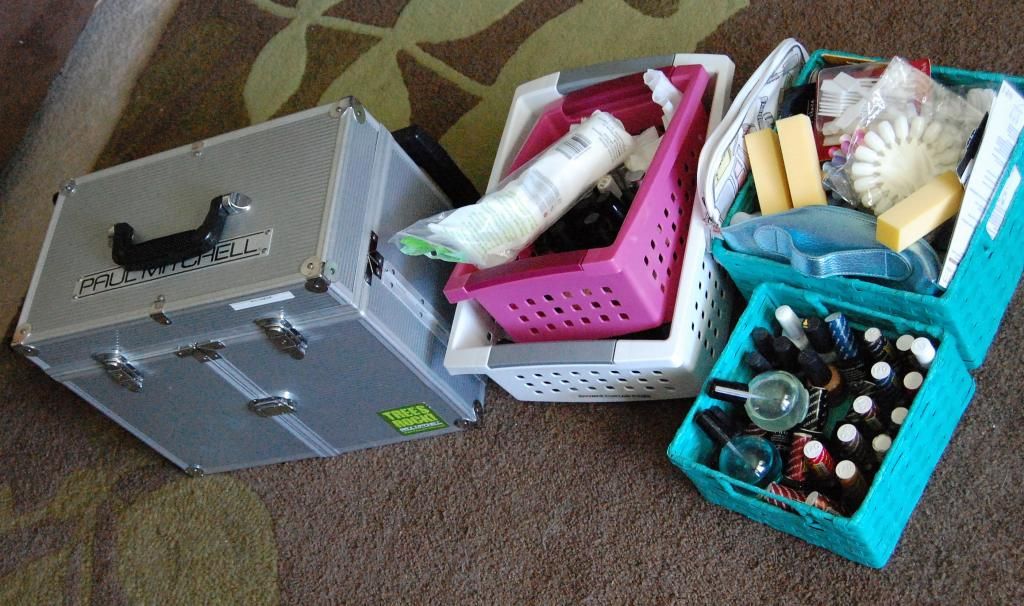
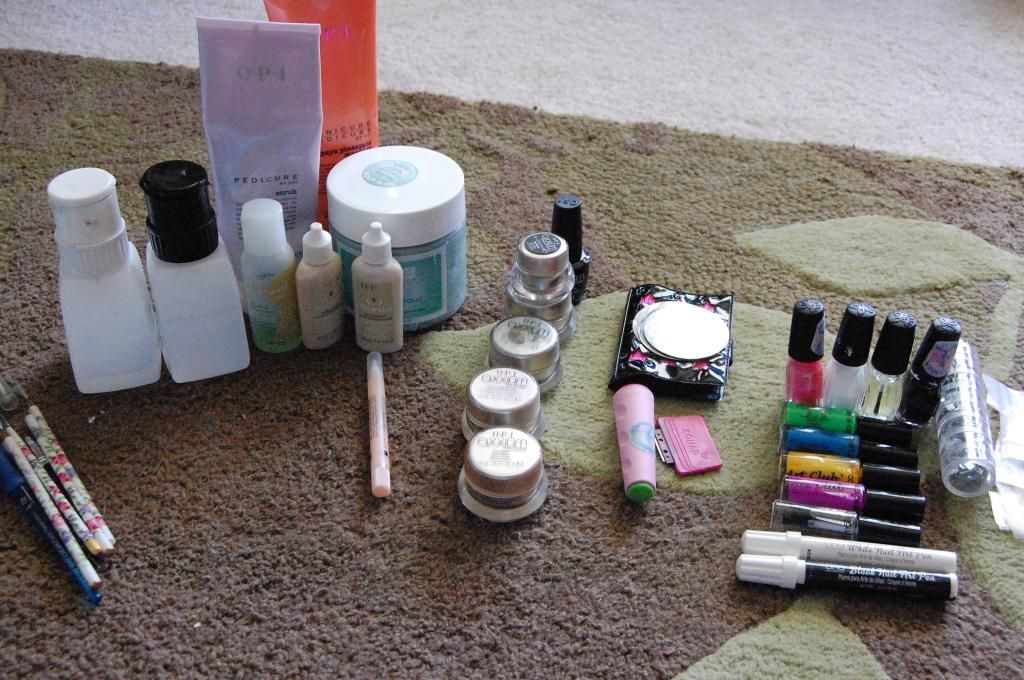
I gathered all the supplies I would need.
I'm overly prepared for everything when it comes for nails but I need it all to fit in my case.


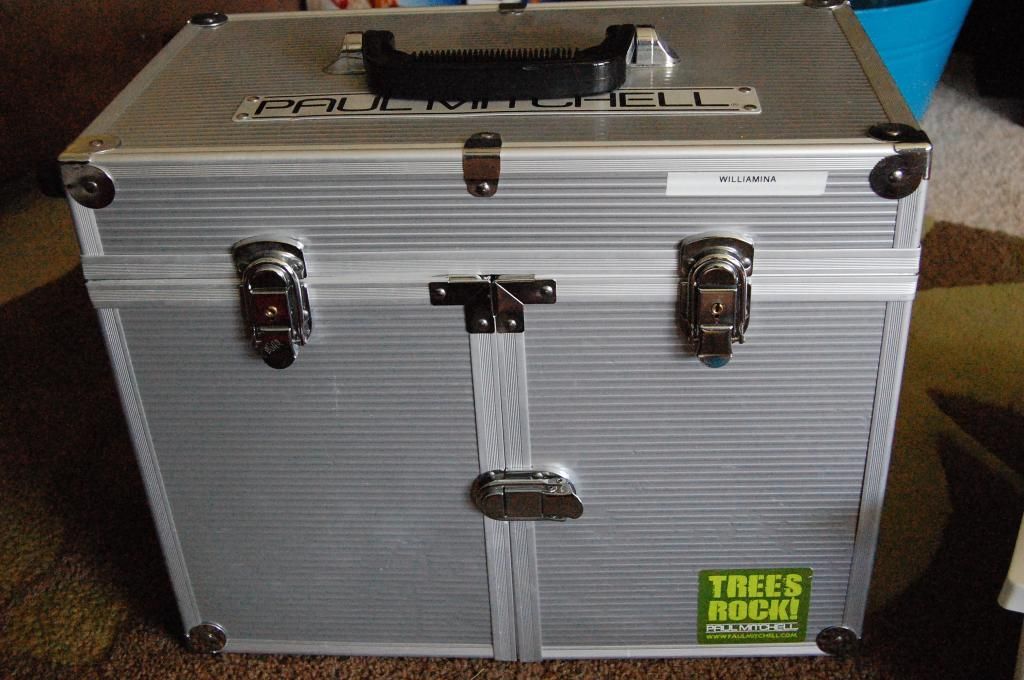
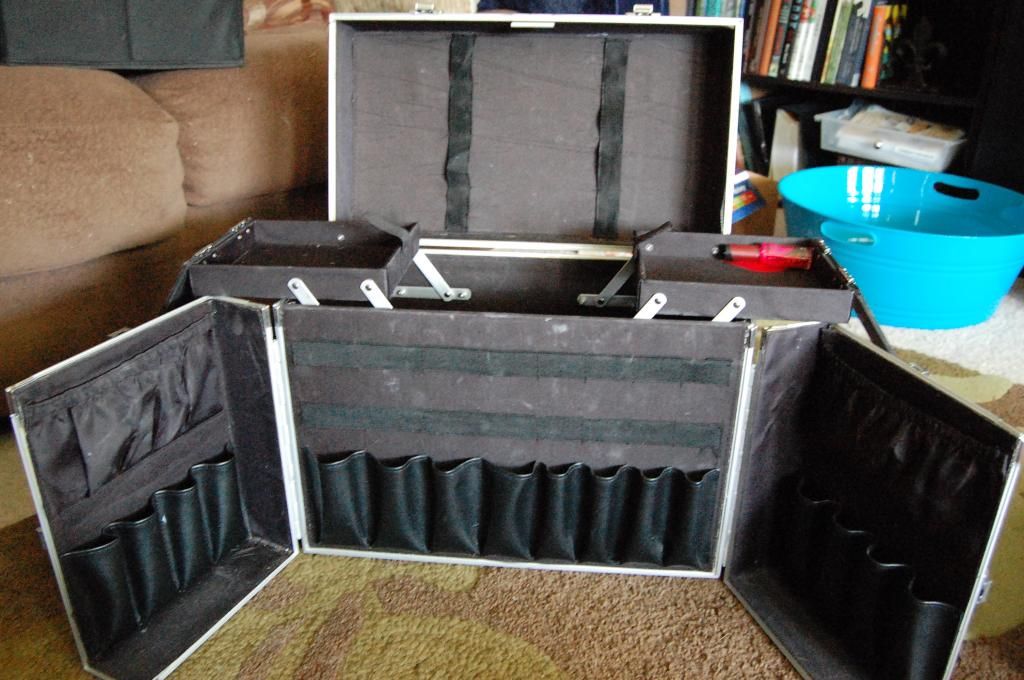
I used my case from hair school, it's a rolling case that comes in handy and is quite large.


It has lots of compartments for storage!
I also wiped down the interior with lysol wipes, just to make sure that it was clean.


I grouped my supplies in catagories:

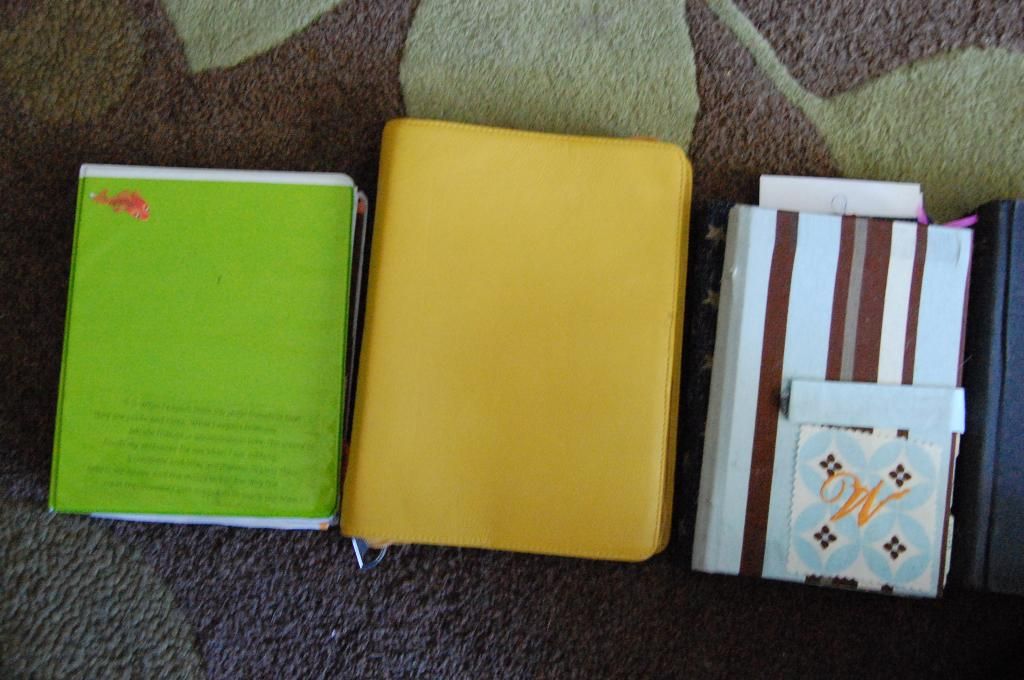
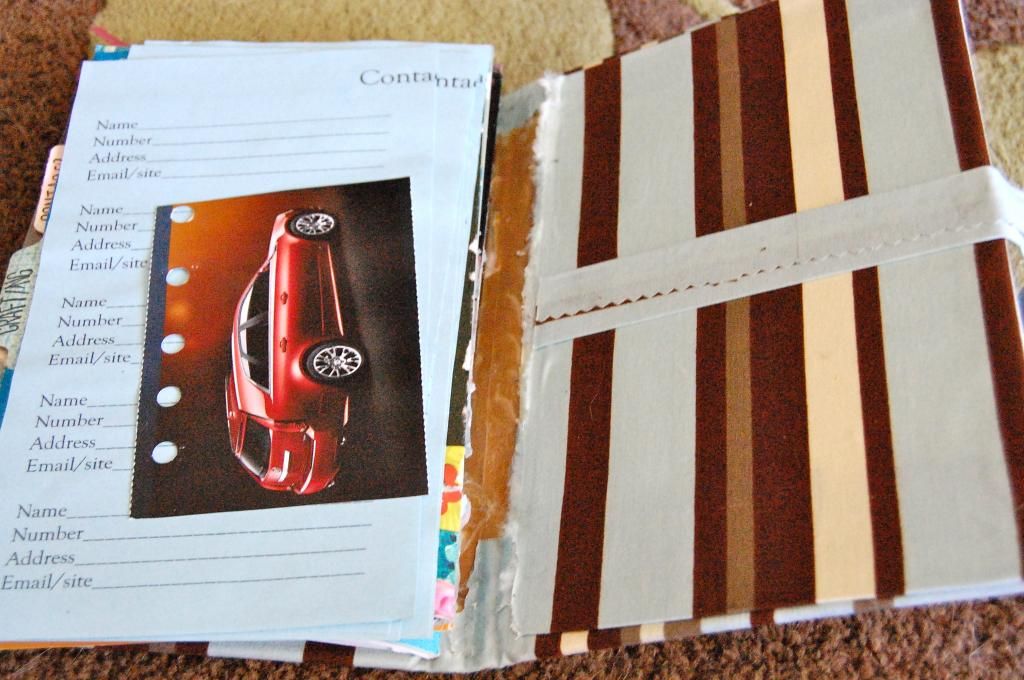
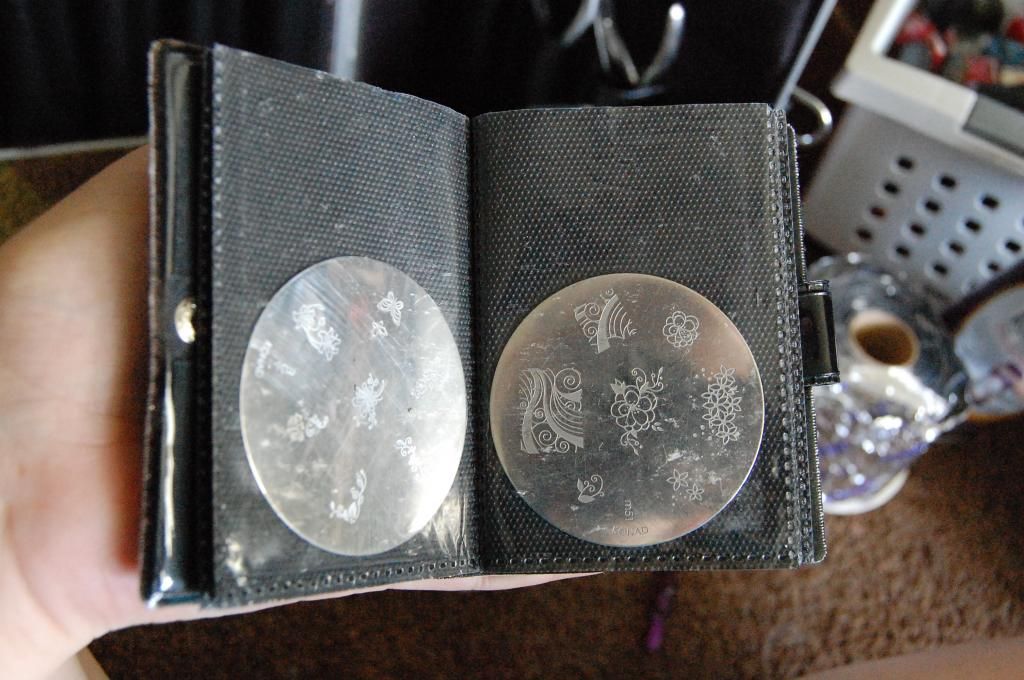
I found that a mini photo album worked wonderfully for my konad stamp plates!


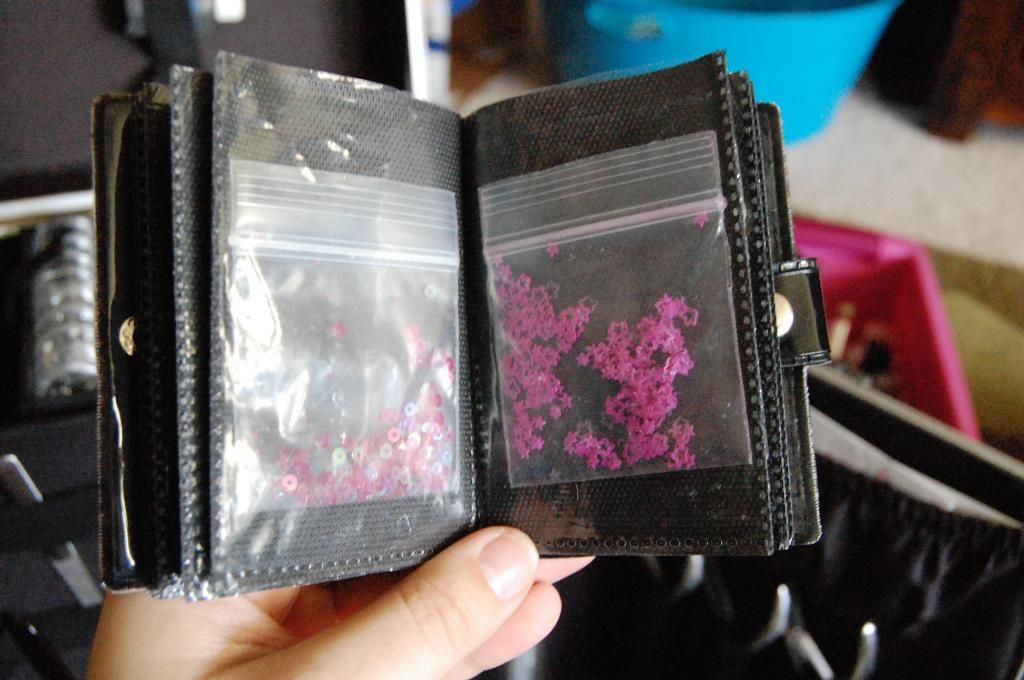
I also put my uhhh "things" in there too!
(they are what I put in gel and acrylic nails)


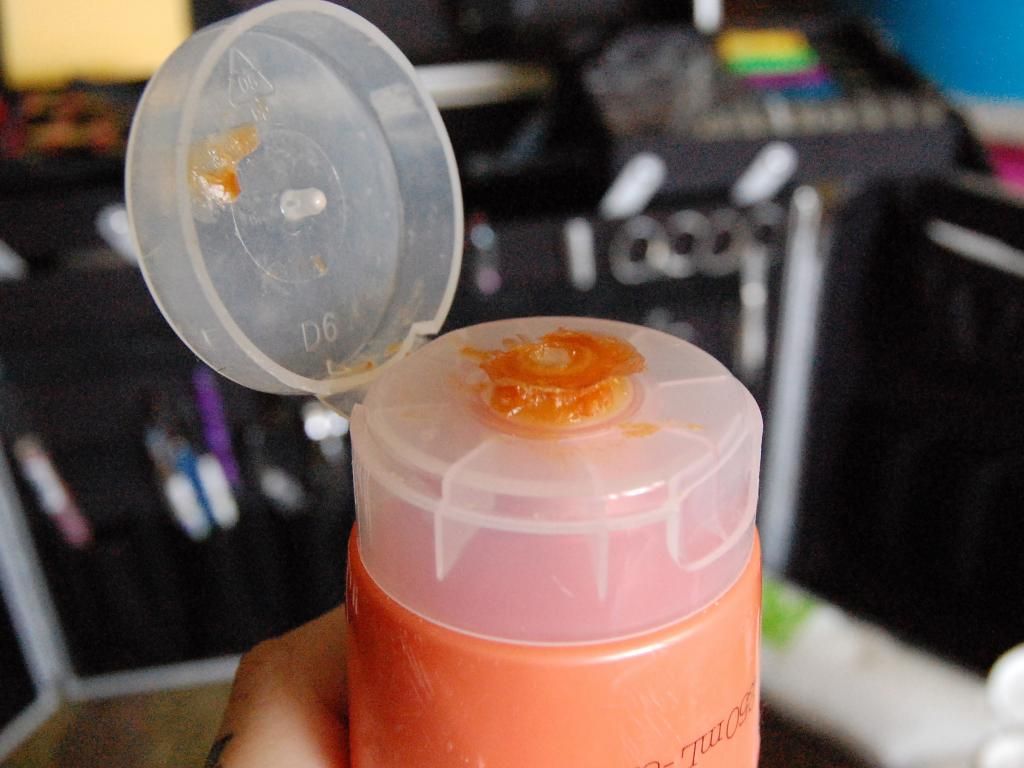
I did notice that the lotions get gross too.
Time to wipe it off I'd say!

Yeah,gross.


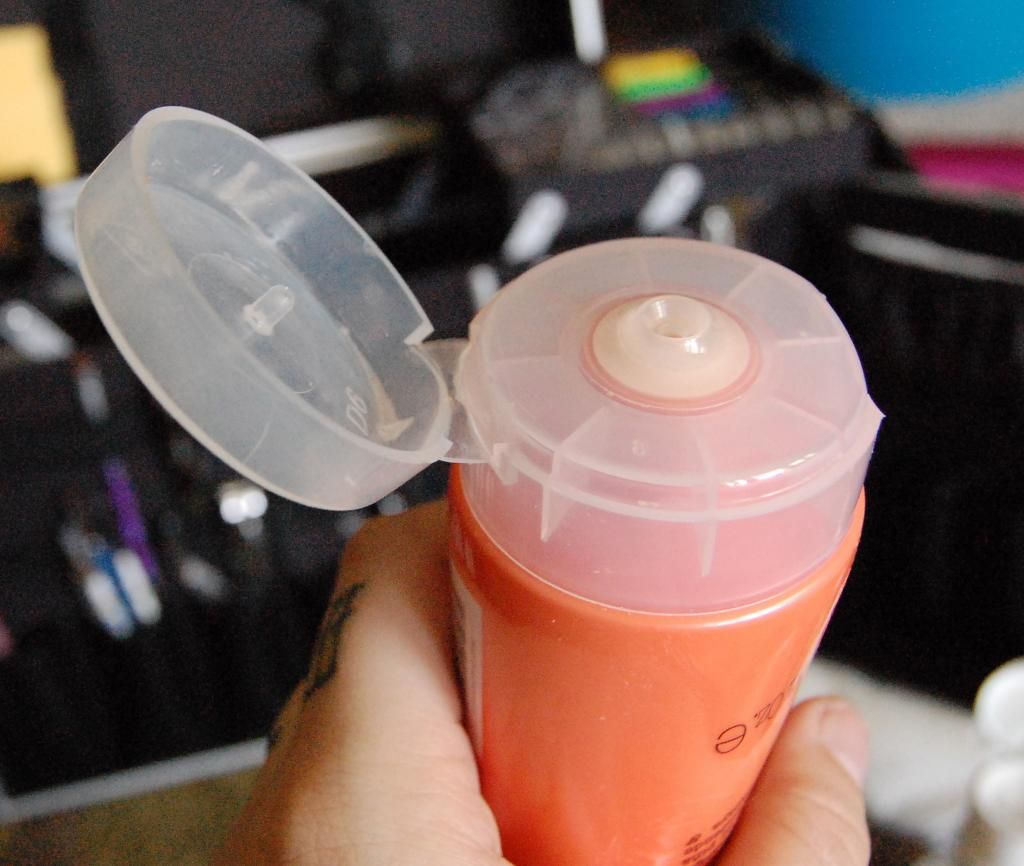
See, everything is better clean!
I went through and threw away old and gross things and cleaned all the tools.


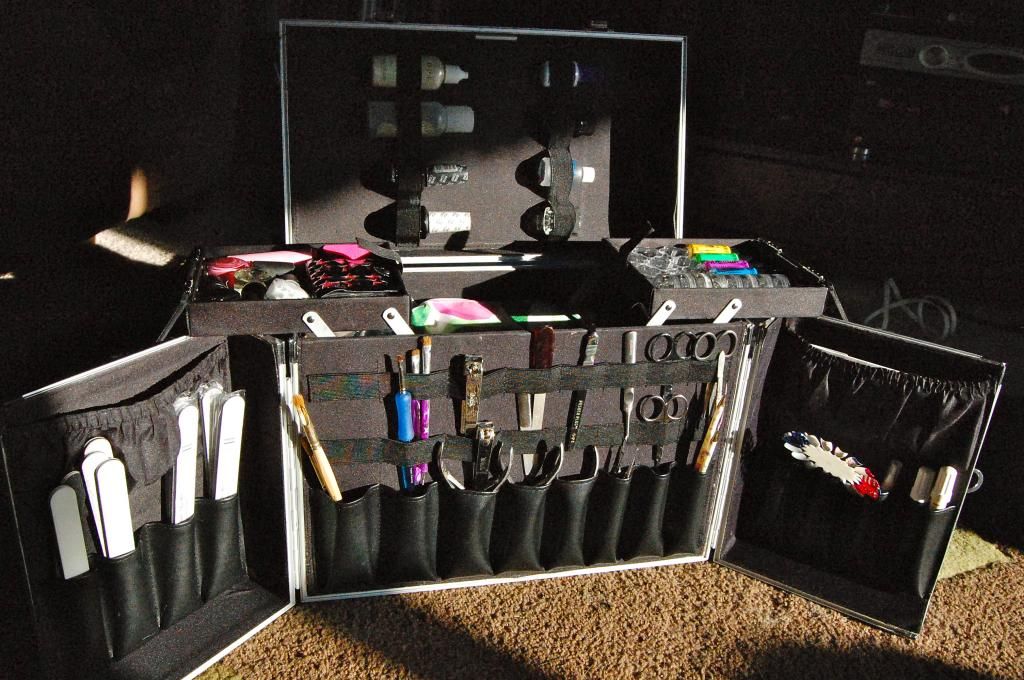
After everything I think it looks really good.
I don't put it in the order of how I use it, It's just in the way I like it.

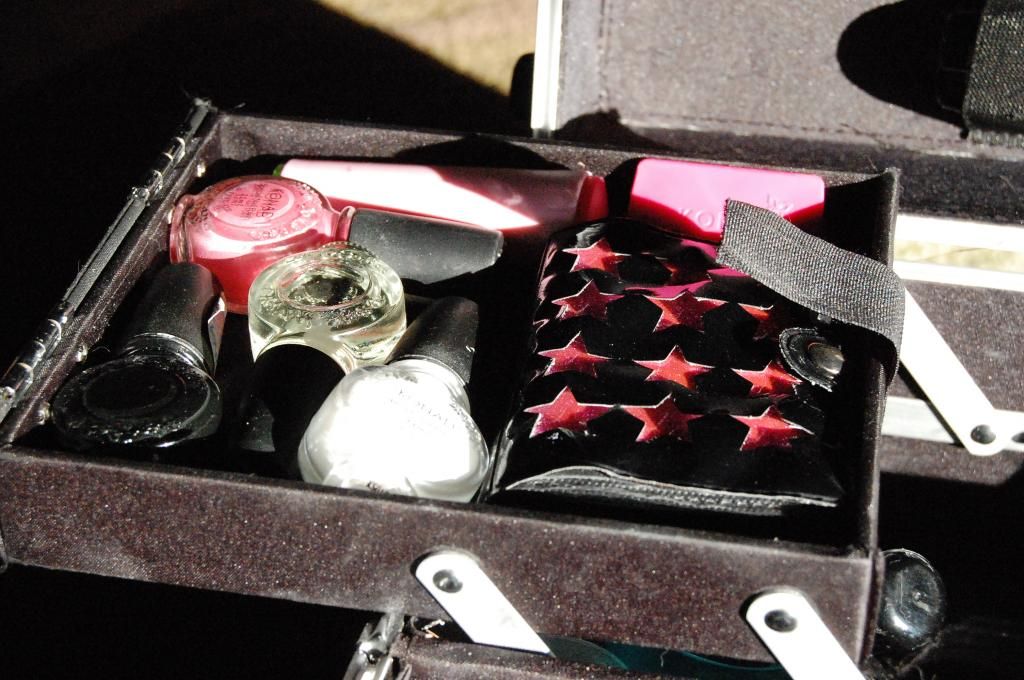
Tools in the front and center!

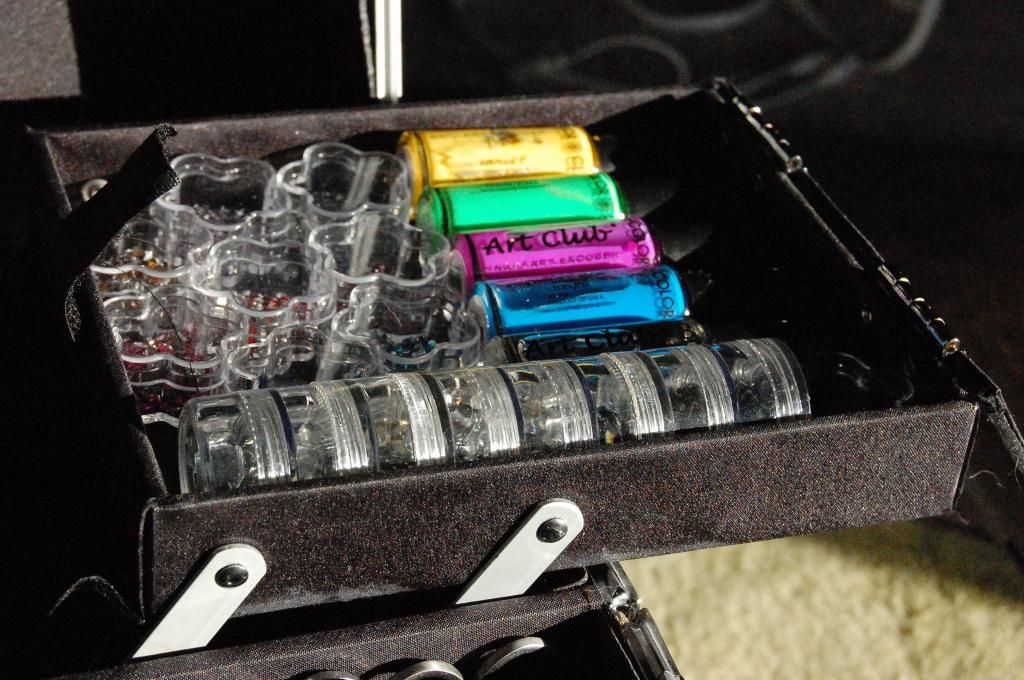
in the big portion I keep my glitter, A bag with my sculpting gel and forms.
The white bag holds cotton rounds, sanding blocks and wipes all items that are disposable.
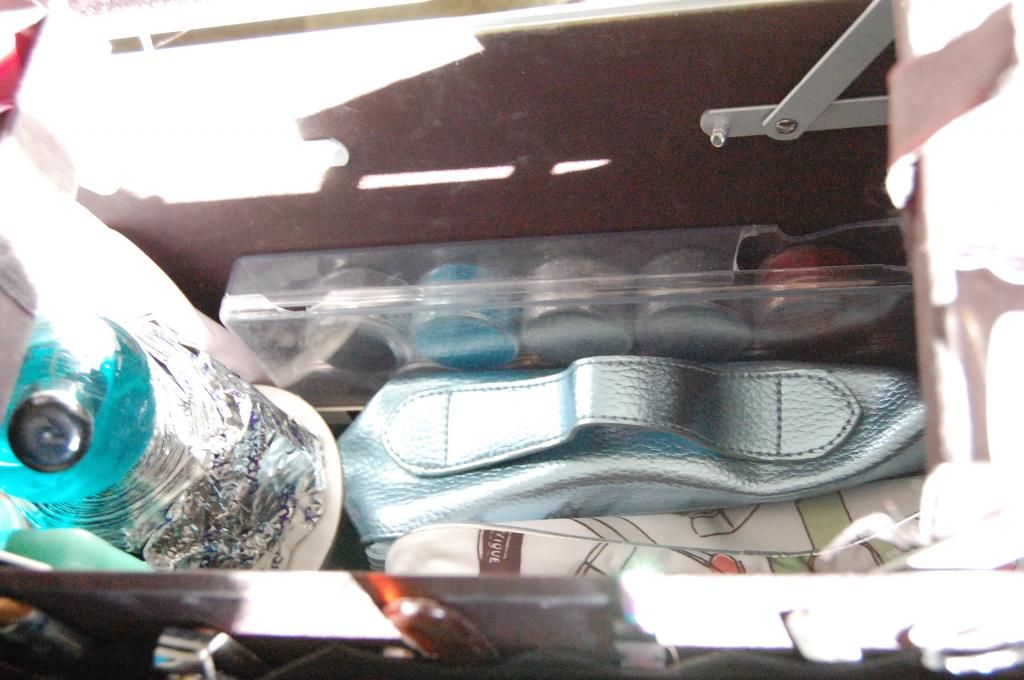
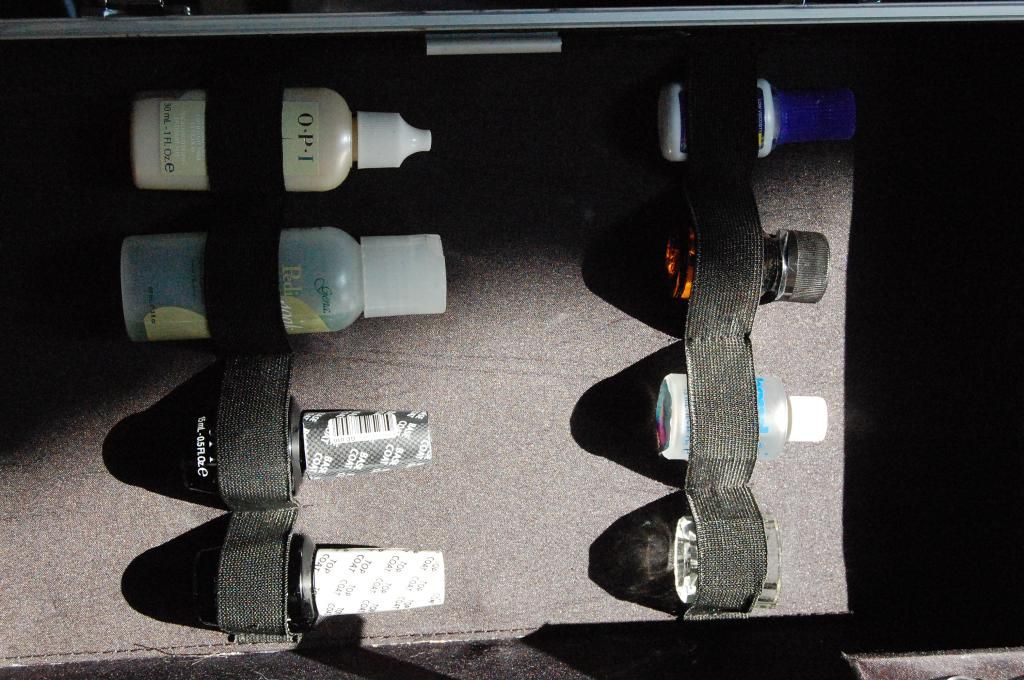
The pedicure supplies are on the far left. I keep the squeeze type bottles upside down to keep the mask I use in a huge tub from rolling around too much.
The foil wraps I use to remove gel polish is the same size as the mask container so it works out that it hangs out on top of it.


The lid has this bungee thing that is great fro storing the important (but small) bottles.
When the case is in 'rolling' mode these bottles are all face up, just in case.

The konad stamps and stuff live in the left side compartment.

The other nail art supplies live in the other side

And that is it my friends!

I hope I helped you some and thanks for stopping by!

W